

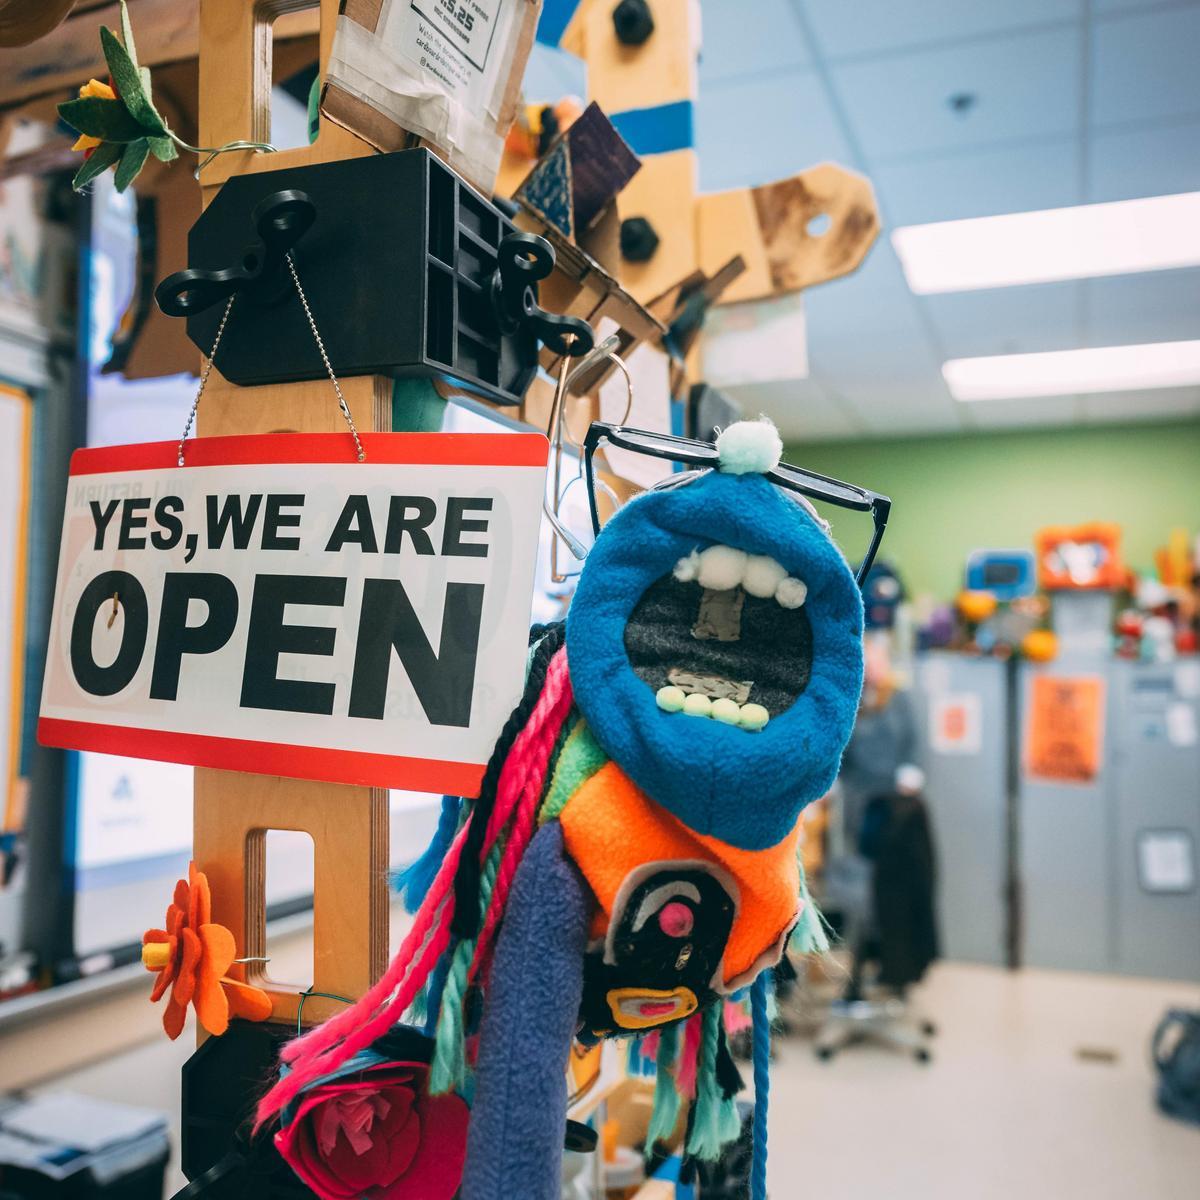
The SELF Design Studio is made possible by a generous donation from the Sara Smith Self Foundation. This makerspace primarily supports education students, especially pre-service teachers, by helping them explore how to integrate meaningful, hands-on activities into their future classrooms.
While the studio is designed with School of Education students in mind, it also welcomes collaboration across UNC Greensboro—including other departments, local educators, and PK–12 students—fostering a broader community of learning and innovation.
In partnership with the Michel Family Teaching Resources Center (TRC), the Student Educator Learning Factory (SELF) Design Studio is a dynamic makerspace where School of Education (SOE) students engage in hands-on learning and creative exploration.
The SELF Design Studio fosters 21st-century skills by offering a space where ideas move from concept to creation. Students and faculty can plan, develop, and execute projects beyond the traditional classroom setting, using tools and technologies that bring learning to life.
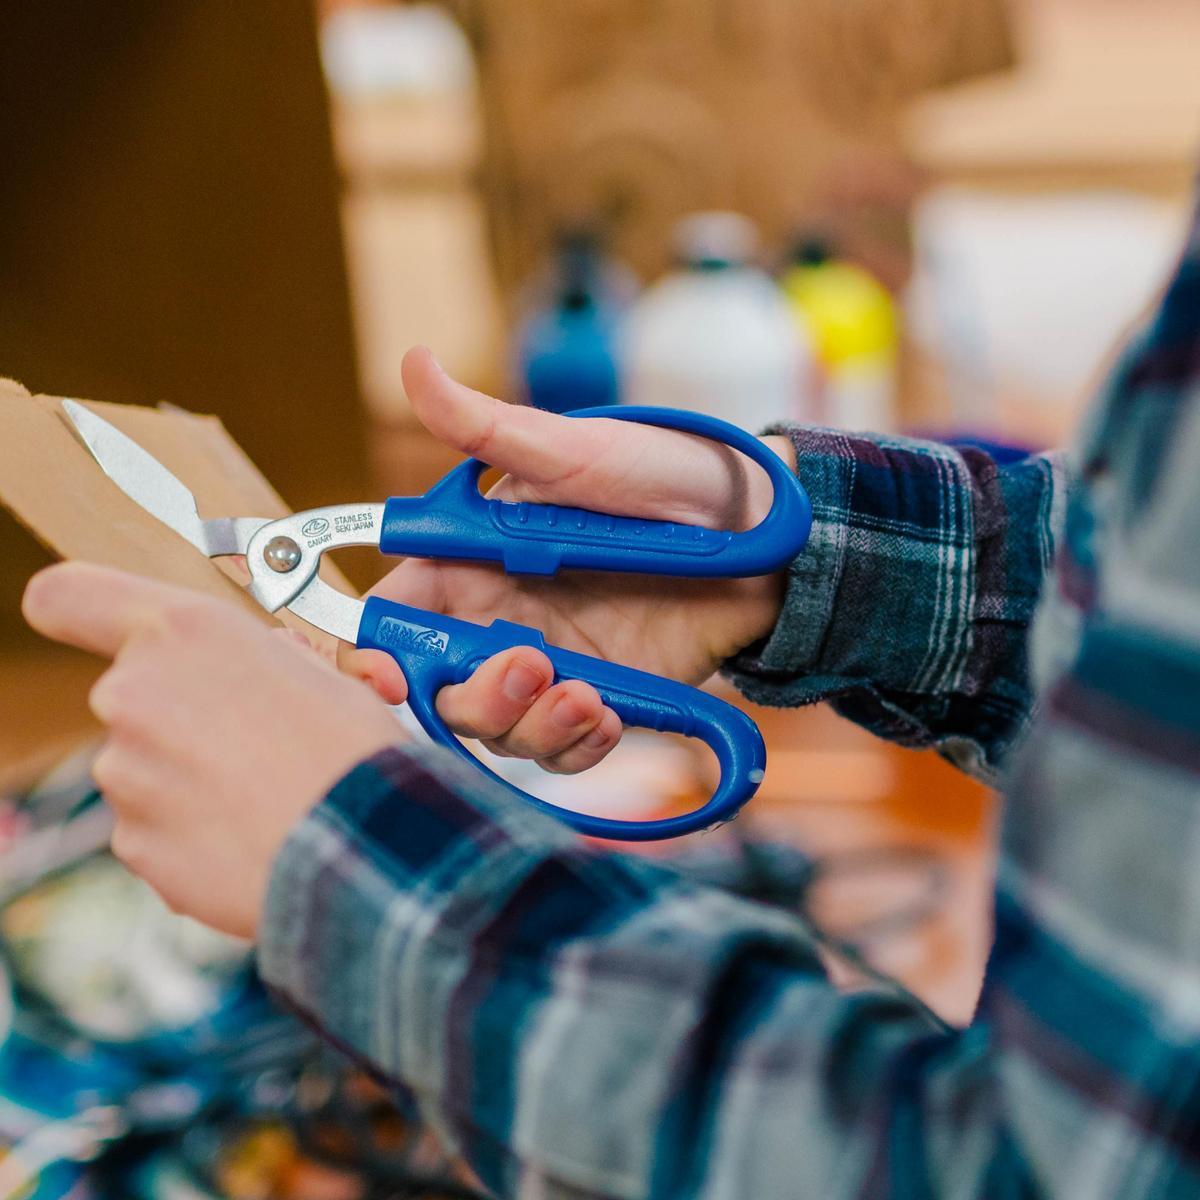
Through collaboration with area teachers and PK–12 students, the studio helps prepare pre-service educators to become innovative leaders. In-service and pre-service teachers alike benefit from access to emerging technologies such as 3D printers, robotics, art supplies, and circuitry kits.
Spark your creative imagination by using technology to make, repair, and customize your hands-on learning experience. Use of materials and resources in the SELF Design Studio is reserved for SOE students, faculty, and staff, unless otherwise noted for specific events or workshops. Please review our SDS Material Policies and Prices before booking an appointment.
If you are interested in scheduling a tour of the studio for your group, send an email to makeuncg@uncg.edu.
Our Hours
Monday, Wednesday, Friday – 9 am – 5 pm | Open Studio (drop-ins and appointments welcome)
Tuesday, Thursday – Appointments recommended
Reservations
The SELF Design Studio offers a wide array of services to assist you with your UNCG maker project.
- Consultation: A 30-minute in-person OR virtual appointment to discuss ideas for a project with a member of the SELF Design Studio.
- Individual / Group Work Session: These 60-minute work sessions are for when you already know what you’d like to work on for your project, and just need access to tools and space. You can stay as long as you need, but if the studio is closing or a class is about to begin, staff will inform you of your time limitations.
- Open Studio: Reserved studio time for TED 160: Learning by Making
Resources
Our physical space thrives because of the tools we use and the creative projects they inspire. Mastering these tools fuels innovation, and the results speak for themselves. Below, you’ll find an overview of the tools available in the SELF Design Studio, along with a showcase of featured projects.
One of our favorite tools is the MaKey MaKey, which we use extensively. When groups visit the studio, we kick things off with a quick demo—Human MaKey MaKey Bongos. It’s always a hit and a great way to spark curiosity and engagement right from the start.
We are constantly searching for and experimenting with new tools
Our students and Makers in Residence (MiR) are constantly working on great projects.
Below you can click through to see some of the projects that we are showcasing and gain access to resources that you can use in your own projects. Our hope is that you will see something below that will spark your creativity.
This project was to express different points of view with an interactive diorama. Three groups considered the journey of the spaceman along the diorama from the spaceman’s, the dinosaurs’, and the “Volcano God’s” perspective.
This was a MaKey MaKey project that also used Scratch. Below, check out the very different Scratch code projects that show off the different perspectives. Feel free to use and remix them as you wish.
To create your own model, follow these steps:
- Create a diorama using any sort of art material that you have on hand.
- At various points on your diorama, poke holes through the bottom of the diorama and wrap a small piece of wire through both of the holes and tie it together at the bottom.
- To create a larger surface area for conductivity, on the top side of the diorama, place a piece of conductive copper tape on each exposed piece of wire. Connect the ground wire (Earth) to the character that you want to trigger the action on your diorama (in our case, the spaceman)
- Connect an alligator clip to each of the wire connection points on the bottom side of the diorama. Connect the other end of each alligator clip to the MaKey MaKey (up, down, left, right arrows, space bar, etc)
- Using Scratch, create an EVENT script for each trigger point (up, down, left, right arrows, space bar, etc) and attach a SOUND script.
- In our class, we assigned students to three groups (Spaceman, Volcano God, Dinosaurs). Each group was assigned to write a first person point-of-view story for their character for each connection point on the diorama. The groups recorded their scripts on separate copies of the Scratch project.
Click here to view the Scratch code we created and remix to your heart’s content.
This MaKey MaKey and Scratch project shows how a visual image can be an interactive educational tool.
- For this science project, students were placed in small groups of four and assigned a system of the human body. Students were purposely assigned to specific groups based on their area of expertise / personal strength. These assignments included: Artist, Writer, Narrator, Musician, Technologist.
- The students work collaboratively, making certain they complete the assignment for their job in the group.
- After the students learn about the functions and components of their assigned body system, they begin writing their first person account of traveling through that system. For this example, the students wrote a story about a blood cell’s journey from the body, to the heart, lungs, back to the heart and returning to the body again.
- The drawing is wired with conductive copper tape (on the back side so as not to get in the way of the illustration). The copper tape runs to the edge of the drawing where it is attached with alligator clips to the MaKey MaKey.
Click here to see the Scratch code used and remix it if you wish.
- We wanted to explore the connection between “fine art”, sound/music and technology. As a concluding activity on the solar system, students were placed in groups, and each group was assigned a planet. This group’s assigned planet was Jupiter. After they painted a picture of what they thought Jupiter might look like, they created several .wav files using GarageBand. These files were then exported and uploaded to Scratch.
- In addition, we worked with the students to create a visual animation in Scratch that would respond to triggering each input on the MaKey MaKey.
- Click here to view the Scratch code used. Remix it to your heart’s content.
- This project tells a story through image and audio: a talking book that reads a story upon touch. The circuit is underneath each page, exposed in key points to make connections and bridge between ground and trigger.
- This book was made in a very similar manner to the instructions listed here: http://digitalis.nwp.org/resource/4885
- The book was quickly made and has still stood up under vigorous use despite all reason. It’s also very charming.
Click here to see the Scratch code we built, and remix to your heart’s content.
This project grew out of a desire to integrate circuits and language arts. Several groups wrote haiku about aspects of the “beautiful painting.” We then used Scratch and MaKey MaKey to create a touchable painting that read the poems when different points were touched.
To create your own interactive painting, follow and even expand upon these steps:
- Paint a picture, or otherwise create a visual about which to write poetry.
- Compose a poem about your visual, or perhaps create definitions about vocabulary items in the picture, or use different language terms for things happening in the pictures.
- Make a small hole, just big enough for a small wire, in spots with which you’d like people to interact.
- Stick wires from the back to the front, with exposed, conductive material exposed. You can leave this as a wire, or have it in contact with any conductive covering or object (like conductive paint, aluminum tape, et al).
- Hook your wires to the MaKey MaKey, making each wire correspond with a different point on the MaKey MaKey. Thus, a picture of a mountain becomes the letter “W”, and a picture of a foot becomes the vocabulary word “pede.”
- Use the Scratch files below as a model of how to program your picture. Use your written text as part of your “sounds” in Scratch, or have characters speak the text on screen.
- And… voila!
This project was originally much larger. It has been downgraded in order to fit easily in the Studio.
Click here Scratch program we made. Feel free to remix it for your own talking painting!
Student Educator Learning FacTORY (SELF) Design Center
Location:
School of Education Building, Room 307
Mailing Address:
1300 Spring Garden Street
Greensboro, NC 27412